Moving a blog hosted at WordPress.com to Webhost4life
A couple of days ago I decided to move this blog from being hosted at Wordpress,com, to an account I have at Webhost4life. You can add new domains to your account for only US$15 a year.
When I set the blog up at Wordpress.com, I ordered my custom domain (damianblog.com) and that is what I have been using.
Export your Wordpress.com hosted blog
The first thing I did was to export my blog from my Wordpress.com account, by logging in to Wordpress.com administration page for Damianblog, clicking on Manage, and then clicking on Export:

This generated an XML file which I saved on my local hard disk.
Installing Wordpress on webhost4life
Webhost4life offer a an automated installation of Wordpress using the "Php Free Plug-ins" item on the "Site Admin" tab of their control panel. I first tried using this, however it currently installs version 2.0.3, which will not import the file I'd just exported from Wordpress.com.
After a little searching I came across this excellent page, which explains in detail what you need to do to set up the latest version of Wordpress.
It worked well for me, except for step 18 (giving NETWORK access) - I found I had to give access to IUSER_DEDI... and also IUSER_ I also created the zip at step 14 as 'damianblog.zip' and copied that to my root directory and then unzipped it, so that Wordpress was now installed under a 'damianblog' directory under my account root directory. In the webhost4life control panel I went to the "Domain Name" item on the "Domains" tab in the control panel and added damianblog.com to map to the damianblog directory to which I'd installed Wordpress. I paid my US$15, and I was given the name of two domain servers that I could now use to resolve damianblog.com. In the Wordpress.com admin site I clicked on Upgrades and then on Domains (to the right of "Upgrades" and "Gifts") and saved the Customer Number shown at the bottom of the page, and then clicked on "Manage Your Domains" at the very bottom of the page. This took me to a new page on securepaynet.net on which I entered my Customer Number that I just saved, and my password. I clicked on damianblog.com and then clicked on "Nameservers" (the fourth tab), selected "Custom nameservers", and entered the name of the two name servers I'd been given when I set up the damianblog domain name in the Webhost4life control panel. An hour or so later, when I pinged damianblog.com it returned my webhost4life IP address. I went into my new Wordpress admin page on webhost4life, and clicked on Settings (on the right-hand part of the page), and made sure the Wordpress address (URL) was https://damian.fyi I clicked on the Import link in the admin page, and imported the XML file I'd exported from the old blog hosted at Wordpress.com I checked, and sure enough when I went to https://damian.fyi all was well. I could relax. As an afterthought I tried clicking on one of the links on the web that pointed to my blog. It didn't work. Aggh. It turns out that the default Permalink URL in my new blog was of the form I went to the Permalink section but none of the common settings were in the form I wanted (they all wanted to add 'index.php' to the URL). I could configure a custom structure to be the way I wanted, but when you clicked on URLs the page was not found: The solution was to create a small PHP file which handled the "URL Not Found" error and remapped the page as described here. Just be careful when copying the PHP code from the web page because some of the single quotes are not the standard quotes that they should be. The new Wordpress installation did not come with the theme I've chosen: Simpla. Installing it was pretty easy, I just unzipped the theme from http://ifelse.co.uk/simpla into the /wp-content/themes/ directory. Unfortunately none of my widgets showed on the right hand side. I had to make a couple of small modifications to get that resolved. Now it all seems to be working properly and I can customize my installation as I wish.Setting up the damianblog DNS so that it points to Webhost4life
Configuring your domain's DNS servers to point to the webhost4life servers
Panic
/?p=123, whereas all my old postings hosted on Wordpress.com were of the form /2007/02/25/ajax-screencast/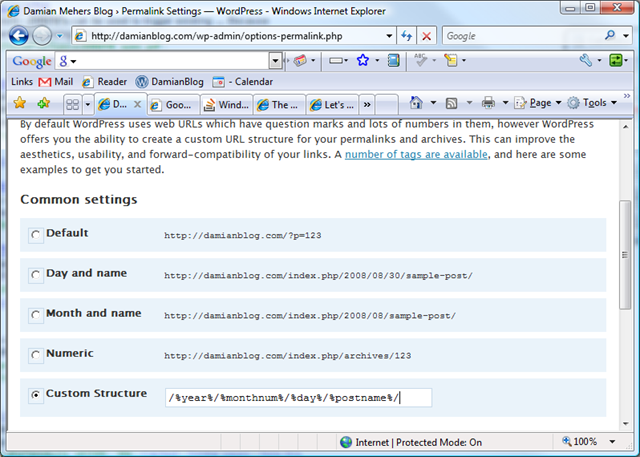
Finally: the Simpla Theme
Done